
JOURNAL

BUILDING THE 3D SCENE

Here's the real process behind the isometric 3D scene on my homepage. From first sketch to final render, no AI shortcuts.

Blender Icon
Modeled in Blender
Spline Icon
Animated in Spline
Webflow Logo
Built in Webflow
Part 1 : Where This Actually Started

The Canva Logo Era

I've been a UI/UX designer and developer for about four years now, freelance the whole way. When I started I didn't even have a real identity. My logo was pulled straight from Canva, copyright be damned, and that was genuinely the whole branding strategy. No system, no story, no real thought behind any of it. Just work getting done, one client at a time, figuring things out as I went.

At some point I built myself a portfolio that I actually liked. Nothing fancy, but it did the job. It held things together while I was too busy taking on projects to sit down and think about who I actually wanted to be as a studio. Looking back at it now feels a bit like looking at old photos of yourself, a little embarrassing, but also proof that you were moving forward the whole time even if it didn't feel like it.

Four Years In, Still Here

Of course, four years is nothing compared to an actual career. I know that. But I still want to savor this small win, because it's mine. Four years later I'm still doing the same job, and it still feels like something I get to do rather than something I have to do. That's not something I take for granted. A lot of people I know who started freelance around the same time as me have moved on to something else entirely.

This year I moved to Copenhagen. For the first time I'm renting my own office, which still feels a bit surreal to say out loud. And maybe more importantly, I'm signing clients who actually want what I do. People who respect the process instead of trying to talk me out of it, who ask for my opinion instead of just handing me a spec sheet to execute. That's a completely different feeling from chasing any job that pays, and it changes how you think about your own work.

Time To Actually Do This

With more confidence, more real projects to point to, and a bit of money saved up, I decided it was time. Not a small tweak, not a new logo slapped on the same old site. A full rebrand of my own studio, top to bottom.

Here's the thing nobody tells you about rebranding yourself. I've done this exact process for clients more times than I can count. Discovery calls, mood boards, naming sessions, all of it. Doing it for your own identity is almost a different job entirely, because you're never quite satisfied. You're the client and the designer at the same time, and neither one of you wants to compromise.

The portfolio that got me through four years of freelance. I recreated the Windows 95 UX for it. Not fancy, but it worked.
Modern office desk with a laptop, monitor, lamp, water bottle, and office supplies in a bright workspace.
My first real office, Copenhagen. Still feels a bit surreal writing that.
Hours of iterations condensed into a few seconds. This is what creatong yourself a logoyourself actually looks like.
Image to illustrate my service : Brand identity from scratch
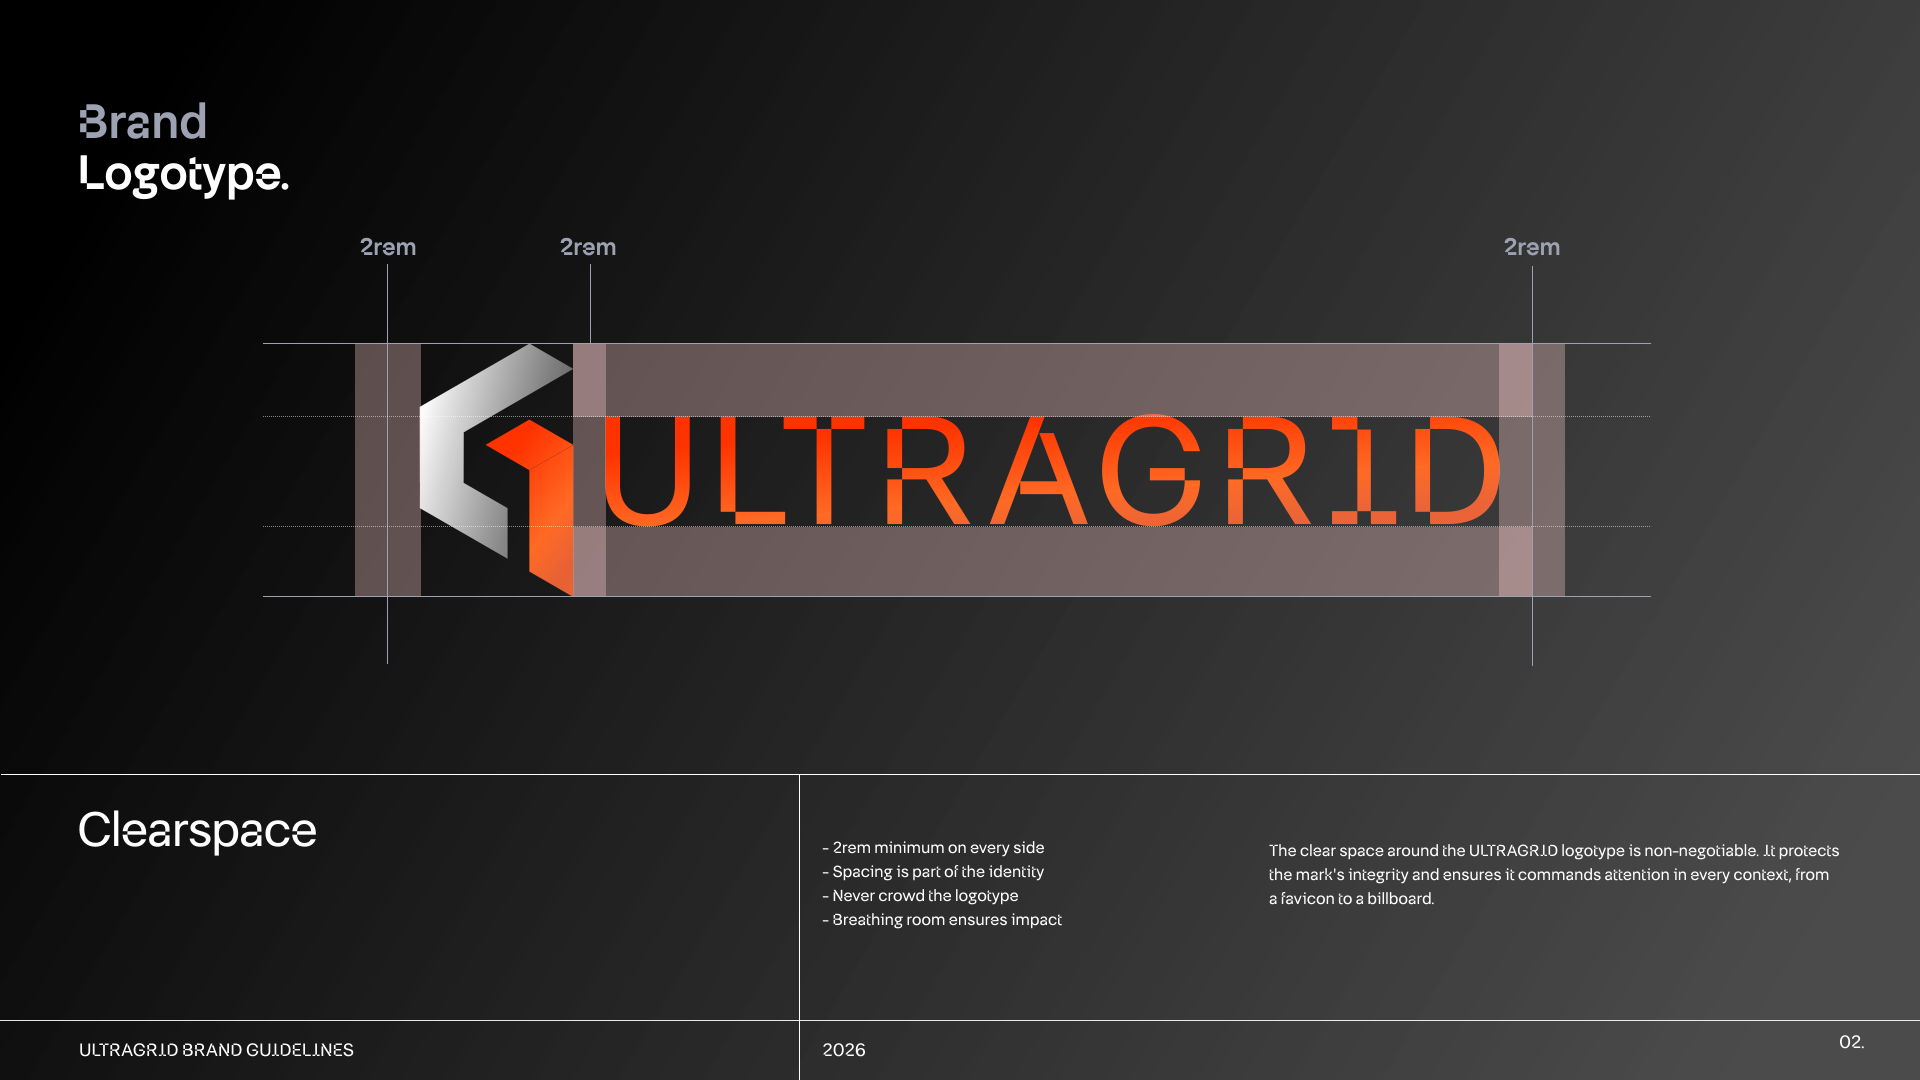
Where it landed. ULTRAGRID, built on the grid system that started it all.
Turning one logo into an entire system. This part took longer than the logo itself.
Part 2 : Building It, Piece By Piece

Getting Clear Before Getting Visual

I started in Notion, not in Figma. That surprised me a bit too. Before touching a single visual, I laid out why the rebrand mattered and what problems it was actually meant to solve. It's easy to jump straight to a new logo because that's the fun part, but I've seen enough client projects go sideways from skipping this step to know better.

What came out of all that writing was pretty simple in the end. I needed a real system, something that told clients exactly what I deliver, what ULTRAGRID actually stands for, and gave me actual projects to point to instead of vague promises. I wanted to stop explaining myself in every single call and let the brand do some of that work instead. Goal number one, written down in bold in that Notion doc, was doing the work I actually love, even if it means turning down work that isn't a fit, and using that clarity to attract the right kind of project instead of just any project.

Naming Myself Is Harder Than Naming You

Once all the questions were out on paper, once the thinking finally had a shape, I moved into naming and visual identity. I genuinely thought this part would be quick. I've named things for clients before, I know the process, I know what makes a name work.

Naming yourself is weirdly harder. There's no brief to hide behind, no client to bounce ideas off who has some distance from the decision. I went through a stack of directions, acronyms, invented words, abstract minimal names, before landing somewhere that actually felt like me. ULTRAGRID came out of my own obsession with grid systems, something that's been at the center of how I design for years without me ever naming it as a "thing." Once I saw it written down, it just made sense.

Finding The Signature

After the name came direction and signature, the part where ULTRAGRID actually started looking like something instead of just sounding like something. This is where the grid system, the typography, and the overall tone came together. Structured but not cold. Precise but not sterile. I wanted something that felt like a Swiss design studio had a baby with a nordic architecture firm, minimal but with enough personality that it doesn't disappear into every other portfolio out there.

This phase took longer than I expected, mostly because every small decision, a letter spacing, a shade of grey, felt like it was locking in something permanent.

Part 3 : Built by hand in Blender

Modeling the scene in Blender

1.
Why I did this

I could have used a stock 3D asset, or paid someone to build the whole scene for me. I didn't, because the entire point of this rebrand was proving I could actually do the work, not just direct it. If I was going to call myself a creative developer, I needed a homepage that backed that up.

2.
Learning Blender

I already had a bit of experience with Blender, but I wanted to push past the basics and actually build something ambitious. I started with private lessons with Umberto, a couple hours a week, and just kept showing up. Every shortcut, every tool, every stupid mistake, I learned it by actually building this specific scene instead of following generic tutorials that teach you nothing you'll remember.

3.
Building the scene, step by step

It started with a layout, deciding what objects would exist and where. Then came the big shapes first, the desk, the shelving, the walls, blocked out roughly to get proportions right before adding any detail. From there I moved object by object: the guitar, the books, the totem, each one modeled from scratch, checking references constantly so things didn't look off. Once the geometry was done, I moved to materials, PBR textures, UV unwrapping, testing how light hit different surfaces. Metal was the hardest to get right, it took several failed renders before it actually looked like metal instead of grey plastic. Then came lighting the whole room so it felt like one coherent space instead of a pile of separate objects sitting next to each other. Every pass, I'd render, notice what looked wrong, go back in, fix it, and render again.

Umberto Gnocchi was with me through this entire part, session after session. Not just teaching me Blender in theory, but actually sitting with me while I built this specific scene, catching mistakes before they became bigger problems and pushing me to redo things I would have otherwise settled for. This section exists because of him as much as it exists because of me.
Part 4 : Bringing it to life in Spline

Getting it on the web

1.
Choosing the right tool

I had to pick the right technology to get this scene onto the web. Three.js is probably the better long term answer, more control, more power, and it's something I'm actively working toward. But I don't have the skills or the time for that yet, so I went with Spline instead, a tool built exactly for getting real time 3D onto a website without writing a rendering engine from scratch.

2.
Getting the scene from Blender into Spline

This part I didn't do alone. Emilie helped bring the scene over from Blender into Spline, handling the import, fixing what broke along the way, and getting everything set up for the interactions that would come next. Moving a scene between two completely different pieces of software always breaks something, and having someone who actually knew Spline made that transition far smoother than it would have been on my own.

3.
Integrating it into Webflow

The last step was getting the scene running properly on the actual site. Embedding it cleanly into Webflow, making sure it didn't fight with everything else happening on the homepage. Performance is still a work in progress, Spline scenes are heavy, and I'm actively working through optimization to get load times where they need to be. That's where the scene stopped being a file sitting in Spline and became part of the actual site people visit today, imperfect but real.

Emilie was a huge help through this whole part, patient with every question I had about Spline.